Using the Metadata Editor
Launching the Editor

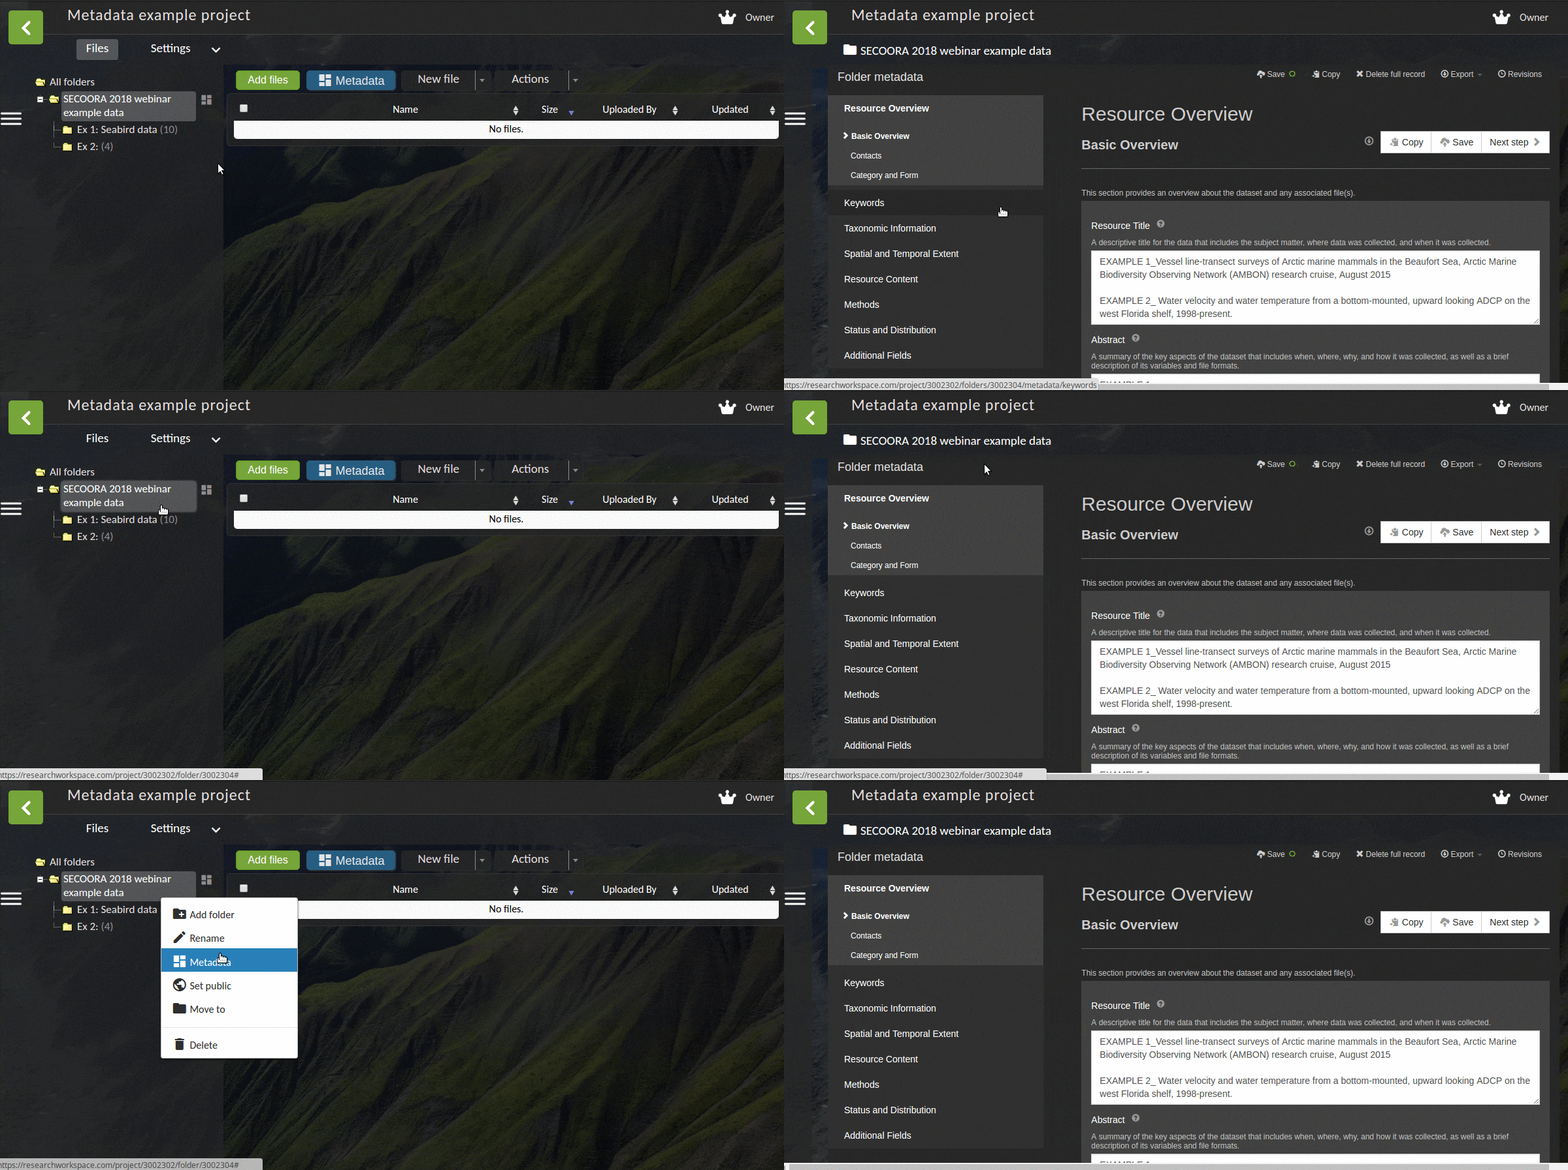
If a record has already been created for you, you will see the metadata icon ![]() to the right of your folder’s name. If this is the case, click the metadata icon to launch the editor.
to the right of your folder’s name. If this is the case, click the metadata icon to launch the editor.
Note
You can also create metadata records for individual data files, but this is less common than using one folder-level record to describe the entire dataset.
If you don’t see the metadata icon, highlight the folder that contains (or will contain) your data files and left-click on the blue metadata editor icon ![]() near the top of the window. This will launch the editor with a blank record.
near the top of the window. This will launch the editor with a blank record.
Tip
To launch the metadata editor, you can also right-click on a folder name and select Metadata from the drop-down menu.
Adding Content to Your Record

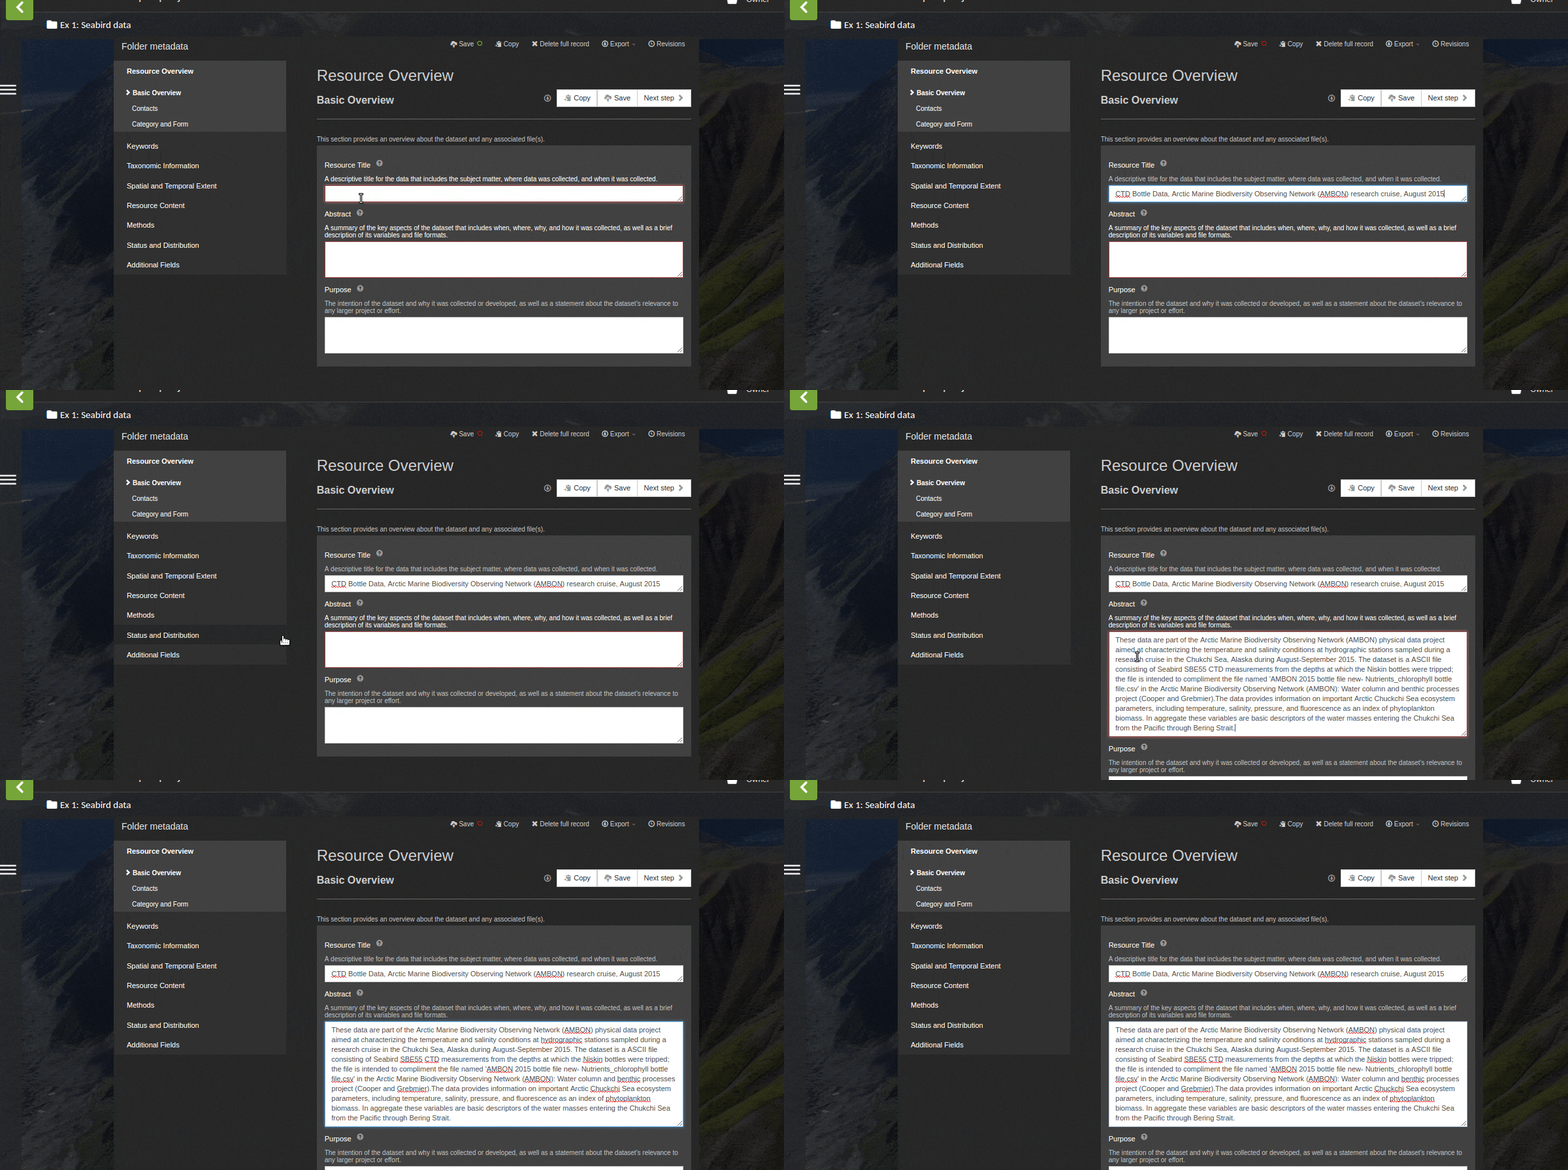
To create new content in a metadata record, enter it using the white text boxes associated with each field. If you have prepared your metadata in another program (e.g., a text or XML file), you can copy-paste the content for each field into the text boxes.
There are several useful shortcuts for getting content into a metadata record:
Exiting the Editor

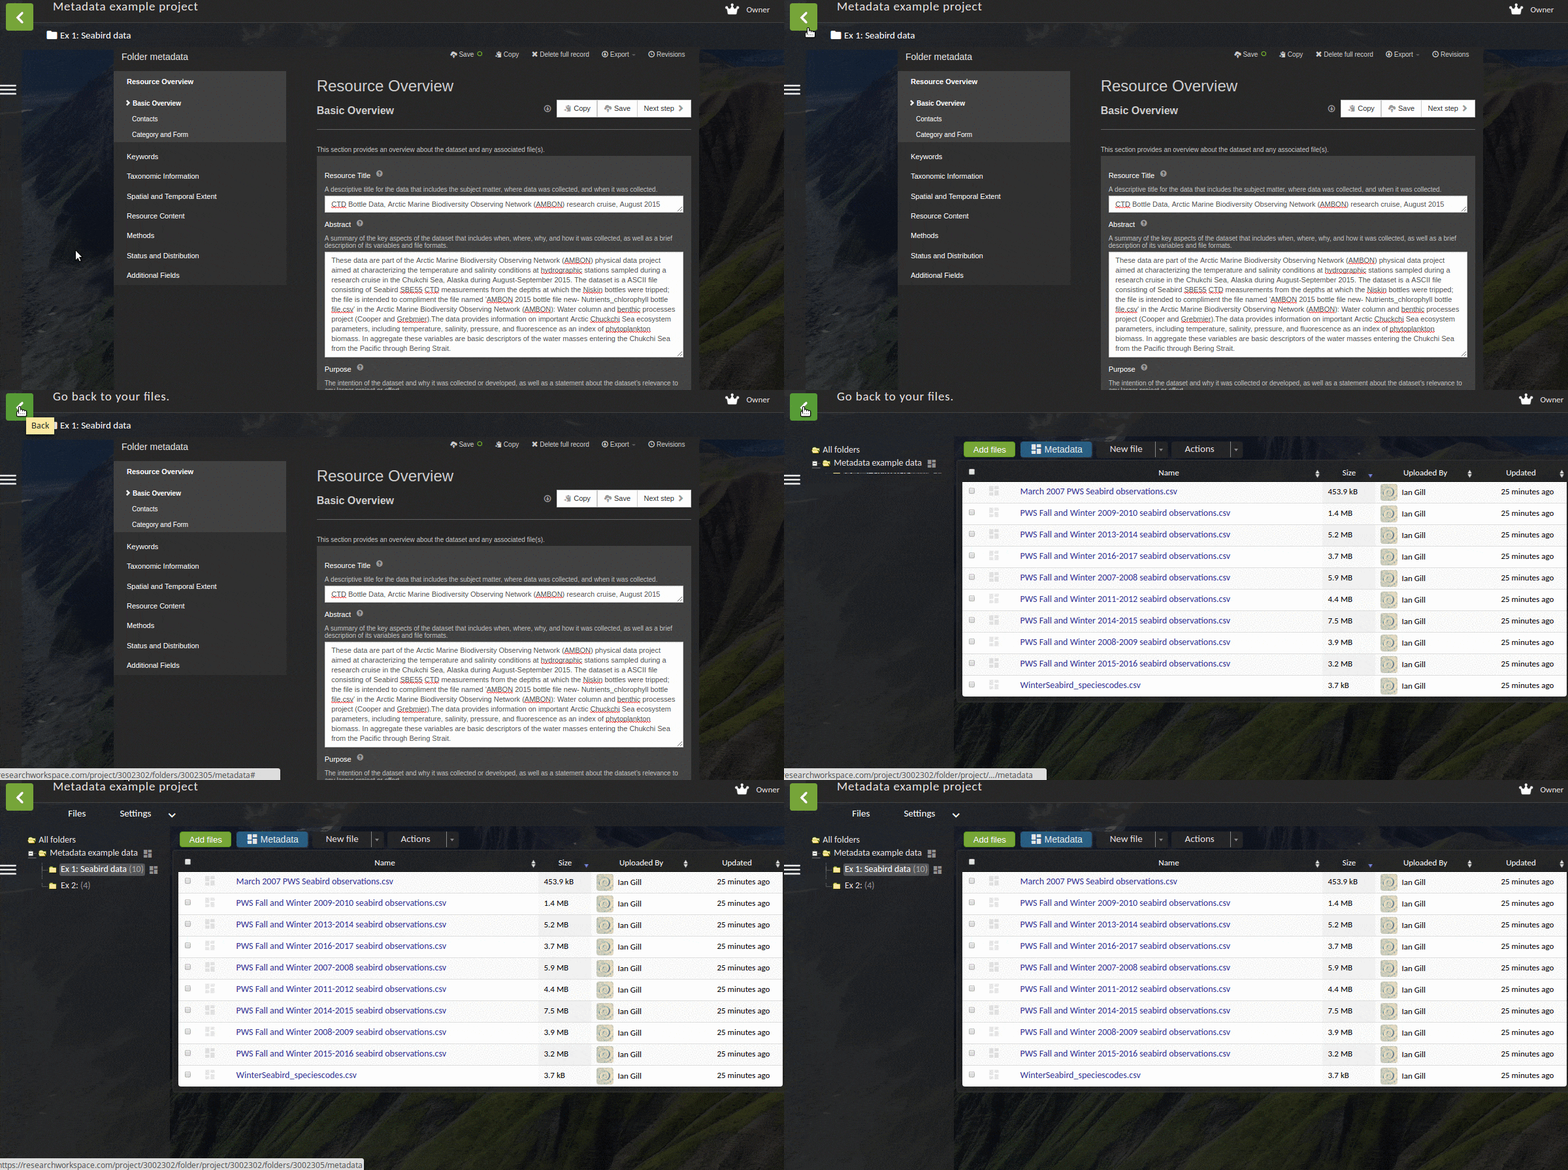
To exit the metadata editor and return to you project view, click the green button with the white arrow ![]() in the upper left corner of the window.
in the upper left corner of the window.
Additional Resources
Writing ISO-compliant metadata can feel overwhelming, but it’s important to remember that you don’t have to fill out every field of a record in order to describe your dataset.
For a list of which fields to focus on, please refer to the our Metadata Cheat Sheet.
Tip
Metadata fields that typically need the most attention from researchers are the Abstract and Purpose fields, as well as the Methods section (Resource Lineage, Process Steps, and Data Quality Reports).
For more help authoring high-quality metadata content, please see Axiom’s Best Practices for Scientific Metadata.
For more details on working with the metadata editor, please see the Metadata Editor page.